If you’ve recently picked up a new friend off the side of the road, you may have hit a point in your drive home where the excitement faded and the weight of the task ahead set in. What did you just get yourself into?
Well, unless you have a freezer dedicated to roadkill that you can chuck your little find into, you’ll have to work pretty fast. When prepping your deceased dude or dudette for maceration, time and heat are not your friends. The longer your corpse sits, and the hotter the temperature, the more bacteria will multiply. This bacteria will nibble away at proteins until your pal becomes a putrid, greenish, bloated mess. If you are planning on keeping the hide of your dead thing and want to preserve it with the fur intact, you have to be extra vigilant to spot the beginnings of putrefaction. If your buddy is already too far gone, the hair on its skin may start to “slip”. This means that bacteria have broken down the animal’s epidermis to a point where the hair becomes loose and falls out. Sometimes hair slippage won’t be noticeable until after you’ve treated the hide, so it can be fairly frustrating to deal with if you’re trying to achieve a nice tanned pelt.
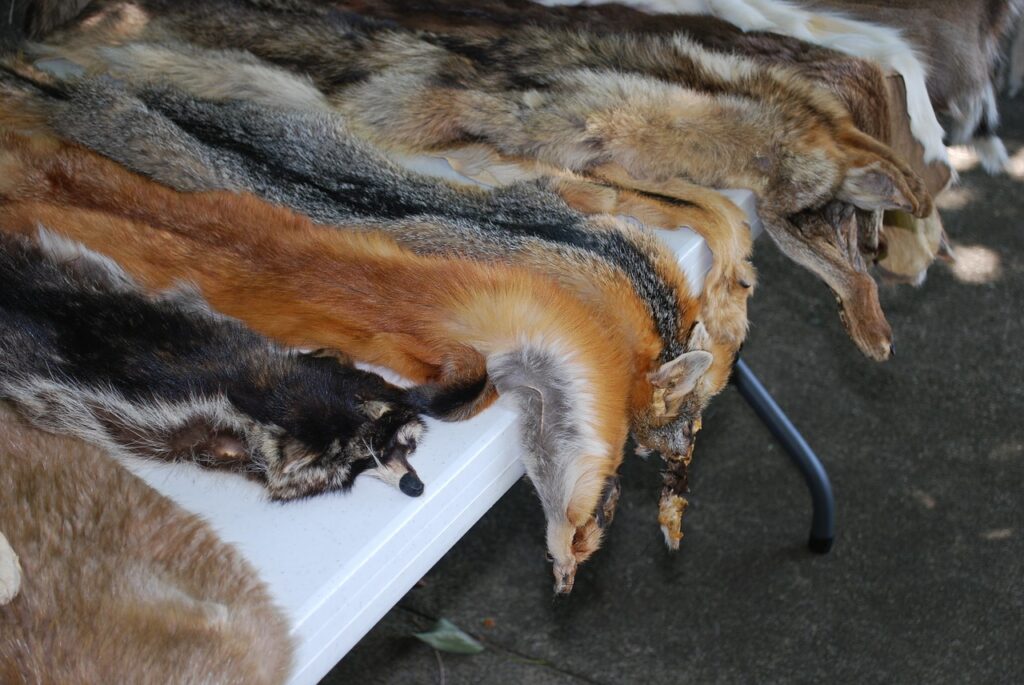
Why would you want a roadkill hide? For starters, they’re one of the most ethically sourced pelts you can find. If your hide is intact enough, you could use them for a taxidermy project. You can use skinned and tanned tails to make accessories like keychains. Rugs, hats, leg warmers, blankets, wall hangings.. Honestly the only limit here is your own ingenuity. Get crazy with it.
But be warned, trying to preserve the hide of your dead thing does take a lot more effort than just skinning and fleshing for the bones.
There are a few things you have to consider if you want to collect and tan any roadkill hides:
1. What time of the year is it? The best time to collect hides is during the colder seasons. Collecting roadkill for anything other than the bones in hot weather is a recipe for disaster. Hair slippage is a huge issue in the heat since dead stuff rots quicker. Fur-bearing animals also have a seasonal change in their coats, so the hides you would find in the winter are typically nice, thick, and relatively free of parasites.
2. Are there any visible signs of rotting or hair slippage? If your dead thing’s covered in maggots, has damage to its hide, shows signs of bloating, has hair already falling out, or reeks to high heaven, it’s already too late. It’s not worth the effort to skin the poor sucker. Chances are the hide you’ll be left with won’t even be halfway decent. Learn from my mistakes.
3. Do you have the tools and space necessary to process the hide? Skinning with the goal of keeping the hide is a delicate operation that requires a variety of tools for each step. Do you have a knife suitable for skinning? Trying to delicately skin a squirrel with a big hunting knife is an almost impossible task. Usually when skinning an animal, it’s hung by each foot at about shoulder height. Do you have the space to hang your dead friend up while you dissect them? Also keep in mind that roadkill carcasses can be much messier to clean than something that was hunted down. You could cut into them and be greeted with a bunch of liquified organs spilling out onto the ground below. Not the best activity to attempt in your home, or anywhere with finished floors. What about something to flesh the remaining meat and fat from the hide once it’s removed? And lastly, where are you going to store your hide if you don’t tan it right away? These are all things you should be asking yourself before you actually cut open your new friend.
Ok, so let’s say you’ve decided to harvest the fur from your dead thing. Let’s go through the process I use to remove and preserve hides.
1. Skinning.
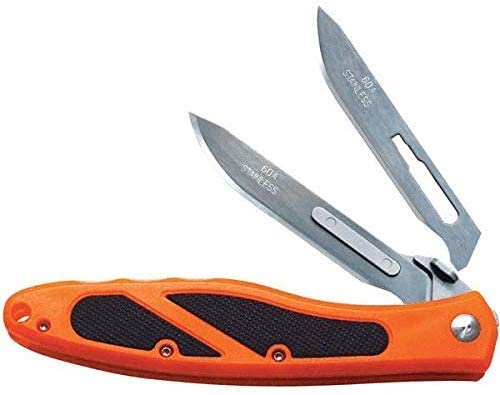
As I mentioned before, this is the part where you string your furry pal up by their hind feet and free them from their flesh prison. You’re going to need a very sharp knife for this, such as a scalpel or a little something specifically made for skinning. I use this one. There are two different methods of skinning that you can pick from, which are outlined below.
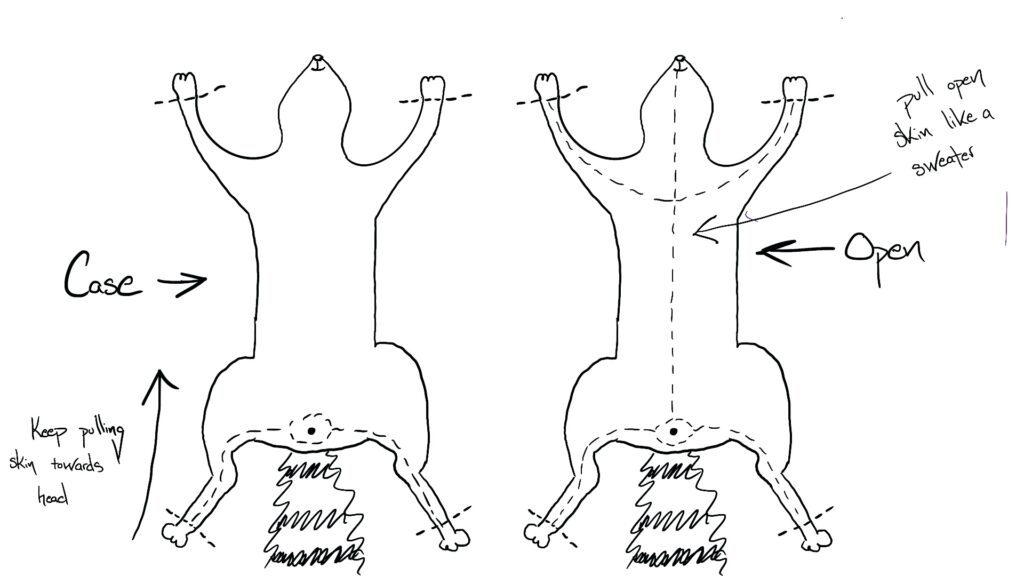
1. Case Method:
This is when you cut a circle around each of the animal’s ankles, then a line from one hind foot to the other, making sure to cut around it’s anus and private bits. Then you literally peel the skin off, starting at their back end and moving towards their front, similar to turning a sweater inside out as you pull it over your head. But, y’know.. with skin. This will leave you with a tube of inside-out hide. I wouldn’t recommend this for first-timers, since it’s more difficult than the next method.
2. Open Method:
This is an easier skinning process that involves cutting around the animal’s ankles, then running your knife through from foot to the base of each leg, and making another cut vertically from head to rear. This method is akin to taking off a skin jacket with a zipper, rather than pulling the skin inside out.
Both methods are shown here, poorly drawn, for your viewing pleasure.
Though there are many ways to skin a (insert dead animal here), they all involve carefully separating the layer of outer skin from the inner muscle. It’s delicate work to pull the skin away while using your knife to cut through the connective tissues, especially around the face, ears, and tail (you may want to look up how to “turn” the lips, ears, etc.). Make sure to take your time with it to avoid cutting holes into the hide, or heaven forbid, slicing yourself open. And please, wear gloves and protective gear for your eyes/mouth. You’re only one squirt of death juice away from regretting that you didn’t.
2. Fleshing.
Now you should have a hide with possibly some fat and gristle left on it, and an alarmingly naked woodland creature. Fleshing is where you clean up your hide by scraping the fat and meaty bits left on it after skinning. If you leave these on the skin, they will harden and make tanning and softening the hide much more difficult. The first time I fleshed out an animal, I just clamped the open hide to a sheet of plywood and scraped off whatever I could with some random, blunt tools. Don’t do this. There are two essential tools for fleshing that I highly recommend.
1. A fleshing beam.
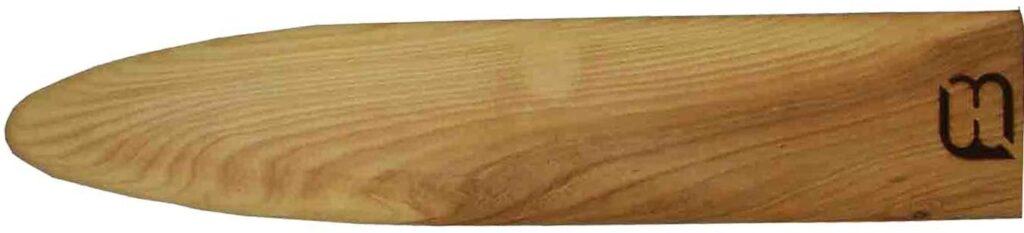
This could either be purchased or homemade, and serves as a place to drape your hide on top of and lean on while you flesh. Not having the proper leverage and pinning points (where you use your own body weight to keep the hide in place while you scrape the flesh away from you) makes a huge difference when trying to get your hide 100% flesh free.
2. A fleshing knife aka The Scraper.
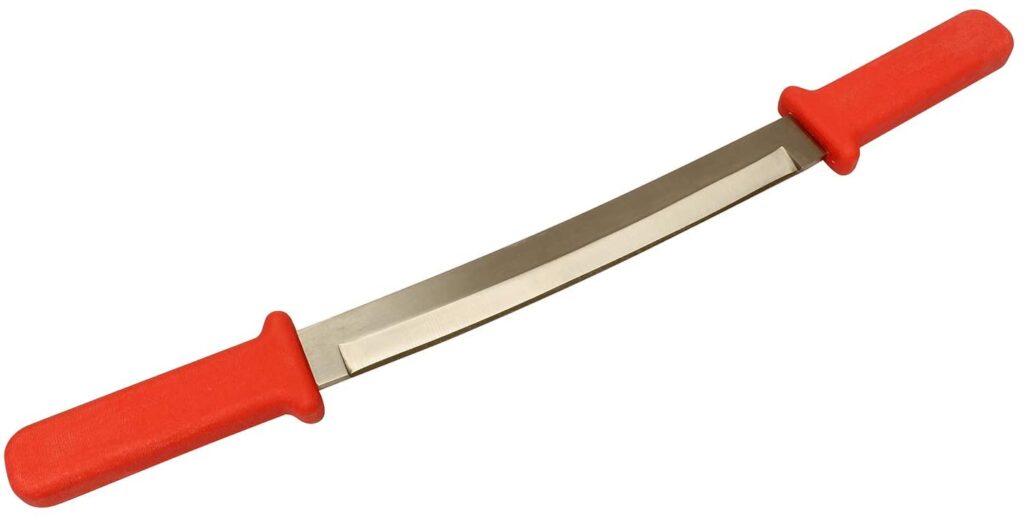
A fleshing knife typically consists of a wide, flat blade with handles on each end. When you flesh a hide, you want to scrape the remaining meat off, from head to tail. This tool is great for getting the bulk of the meat removal done with relative ease. I use a smaller, sharper knife for the detailed fleshing at the end (around the face or other delicate areas).
Once you have your hide on your fleshing beam with the head facing towards you and the tail at the far end, anchor the skin by pinning it between you and the beam. This holds the hide in place as you flesh (making sure to always flesh away from you, from the animal’s head to it’s rear).
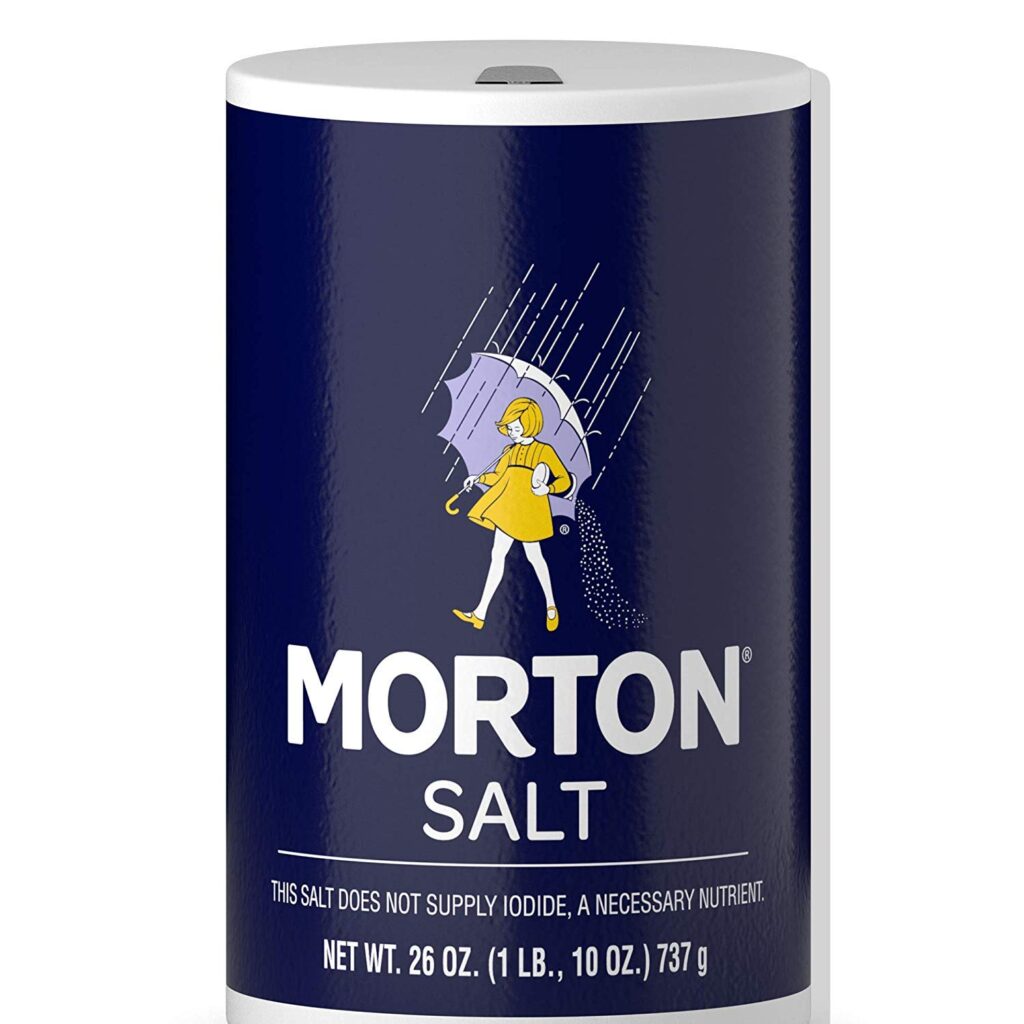
3. Salting.
After your hide is fleshed, you’ll want to be sure it keeps until you’re ready to tan it. The best way to quickly preserve your hide (in my opinion) is to salt and store it. First lay the fresh hide out, fur side down, and cover the exposed skin with a generous layer of non-iodized salt. Why non-iodized? Most things I’ve read state that it could potentially stain your hide. But I haven’t heard of this in actual practice. If nothing else, I believe non-iodized salt has less stuff added that you don’t need, and it’s usually cheaper.
After salting, either cover your hide, or fold it up (keeping the skin on the inside) and store it in a tub. Make sure to either have the open hide on an incline, or on top of some wooden blocks in the tub, since it will start to drain off fluids. Make sure to check on the hide every 12-24 hours for the next few days to reapply salt if it starts to loot too wet or clumpy. After your hide looks dry, you can either store it, or start the actual tanning process. I haven’t tanned a lot of pelts, so I’m not going to cover tanning until I get my technique down. There are a myriad of videos and articles you can find on the interwebs that’ll teach you the ins and outs of tanning better than I ever could. The world is your clam.
If you decided against keeping the hide from your formerly alive friend, then skinning and fleshing becomes a lot simpler. All you need to do is to cut away as much skin and flesh from the bones as you can. The more meat that you’re able to remove, the quicker your carcass will macerate. Make sure that when you open the body cavity, that you try not to puncture the organs as you remove them. You don’t want what’s on their insides to be on the outside. It’ll stink, and it’ll get everywhere. Even if I’m not keeping the hide to use, I typically skin and flesh out a lot of the roadkill I process so I can get in as much practice as possible. This way I’ll be primed and ready for winter when I want to collect hides.
Want to move straight on to maceration? Extra, extra, read all about it in my next post: Maceration.